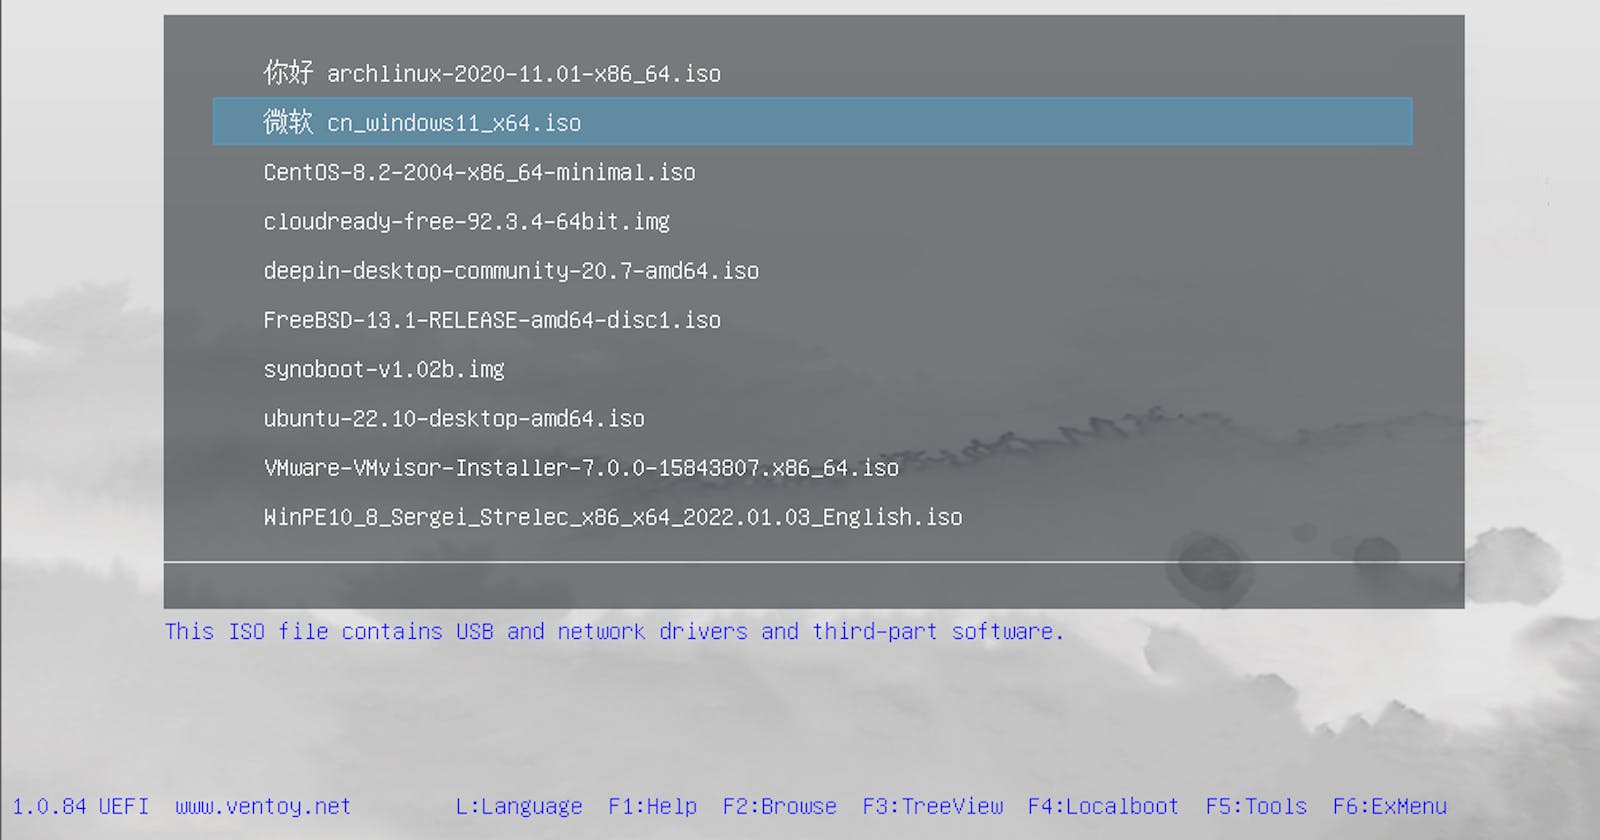
Download Ventoy 💙
Go to the Ventoy website Link
Download the file named
ventoy-1.0.79-linux.tar.gz
Download ISOs to be used 💿
Before starting the process, it would be ideal to have your ISOs ready. In my case, I will be using Ubuntu and Windows. Here are the links to both in case you need them:
Extract Ventoy and navigate to its folder 📁
Now, with the file
ventoy-1.0.79-linux.tar.gz, navigate to your downloads folder usingcd Downloads/Next, extract the file using the command
tar -xf ventoy-1.0.79-linux.tar.gzor simply right-click and select "Extract Here"Then, navigate to the newly created folder using
cd ventoy-1.0.79/
Create the bootable USB drive 🖥
While inside the Ventoy folder, you can use the command
ls -ltrto ensure you are in the correct location. If you see the file namedVentoy2Disk.sh, it means you are in the right place.Here, you need to enter your command. In my case, it is
sudo sh Ventoy2Disk.sh -I -s /dev/sdc. For the last part, you need to know the name of your USB drive. You can find it by using the following command:Run
sudo fdisk -land you will receive a list of your disks. The last one is usually your USB drive, and its name is indicated under the "Device" column.
As you can see, mine shows the name in the "Device" column. When using the command to create the bootable USB, you don't need to include the numbers, as they represent partitions.
Completion 🏁
Once you have executed the command to create the bootable USB, you should see a message like this:

If you see this message, it means everything went well, and you can now copy your ISOs into the USB drive 🚀
Conclusion 💖
- It's interesting how practical and useful it is to have a USB drive that can boot multiple operating systems. I highly recommend giving it a try!

