Troubleshooting and Overcoming Challenges with Chinese Arduino CH340 Boards
🤔 Why I am making a post about this particular model? because I've entered the world of arduino recently and I already got a lot of problems with this model. As I noticed with the few lectures I made, the arduino uno ch340 is a fake one (chinese copy) which has a few issues with being detected by the computer, so after saying this I'm going to make a short guide on how I managed to make it work (at least in linux, sorry windows users).
☑️ Validate that our model is the correct one
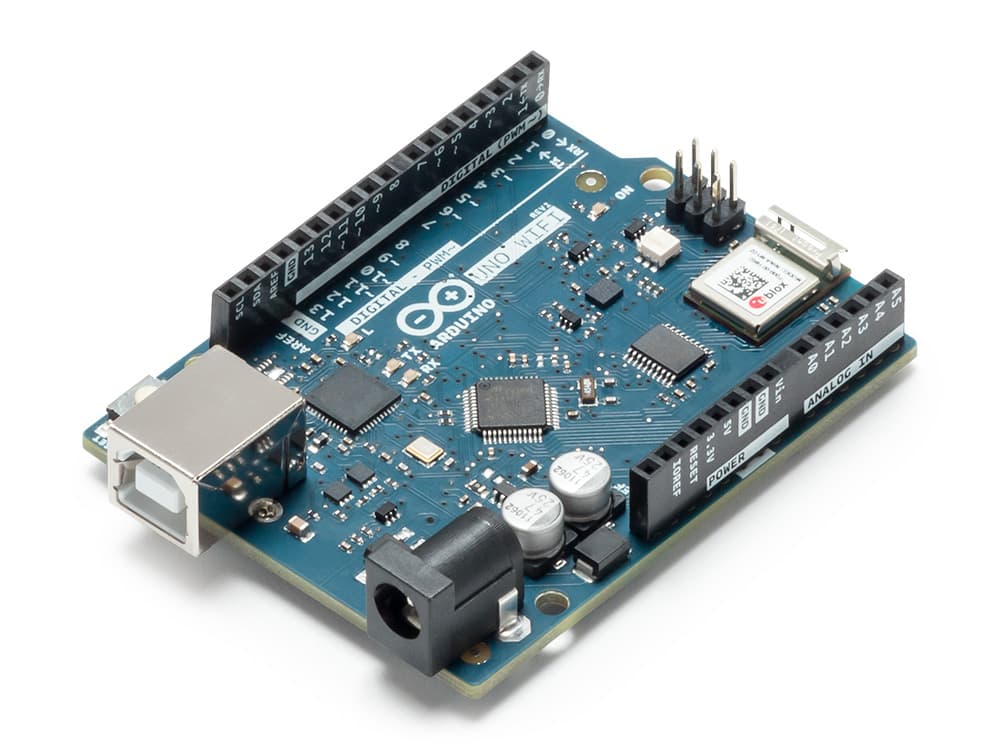
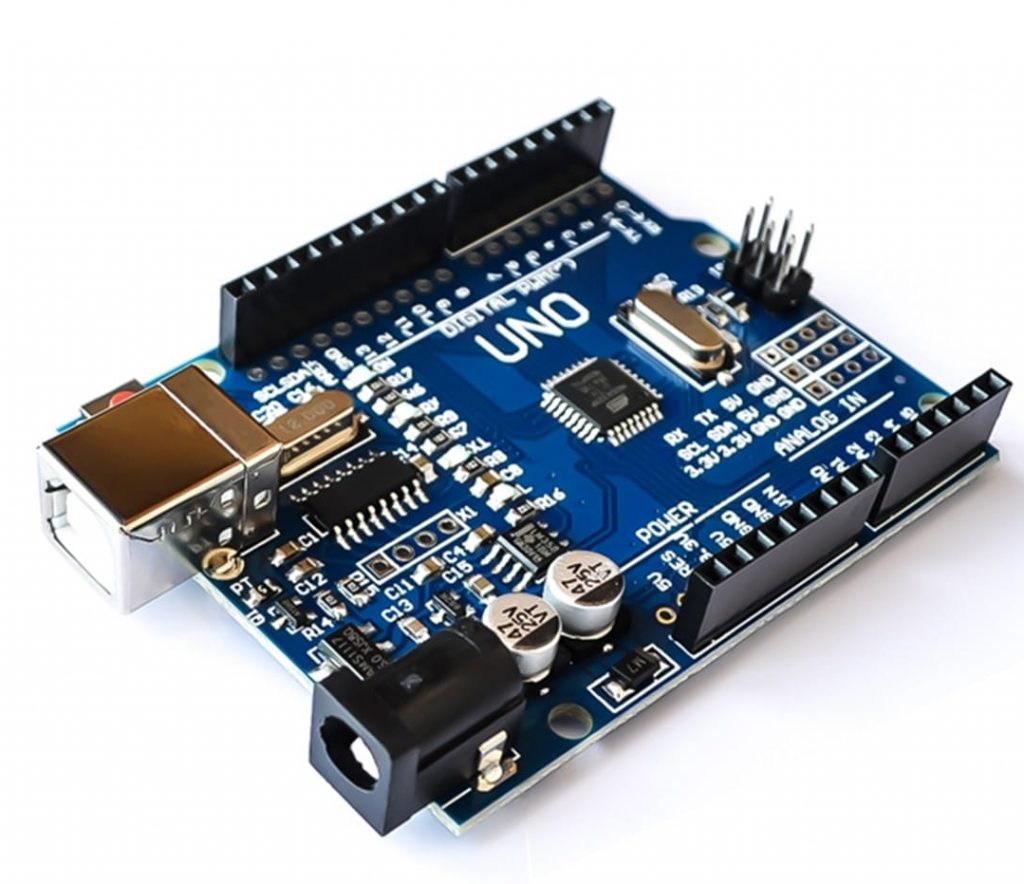
First of all make sure your model is the CH340G which looks something like this ->
Once we confirmed our model is the correct we are going to continue!
⬇️ Get the drivers
Drivers are download from here
Inside the zip is a README.md
💾 Installing the latest IDE
Now is time to download the latest IDE from
https://www.arduino.cc/en/softwareIs going to be an
AppImageso we need to give permissions to it.
chmod +x ./<file>
# Then we run it
./<AppImage>
You can also create an alias in your .bashrc (or anything you are using, in my case zshrc) something like this ->
cd
vim .zshrc
# Add this line
alias arduino="Path to AppImage"
# Then we source it
source .zshrc
# And run it with our newest alias
arduino
After all of this we aren't sure yet is our arduino board is going to be working or not in the IDE, so is time to test it!
😊 Run your first program
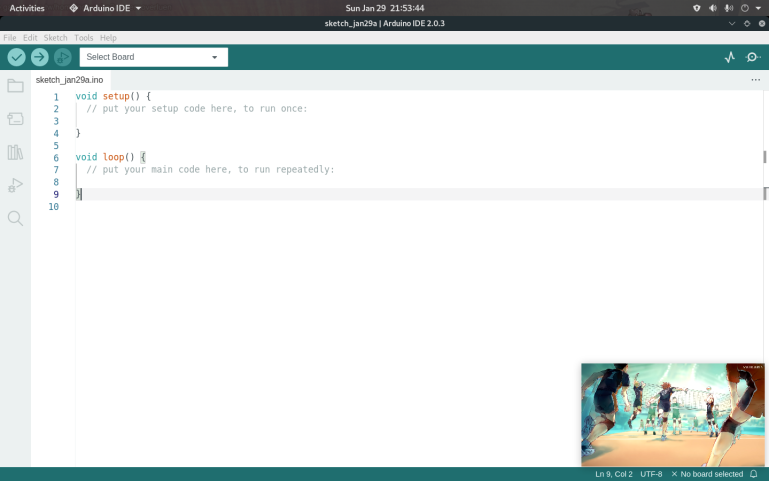
- The first time you open the IDE is going to look like this ->
Now we want to click where it says Select Board and there we are going to find the following things
Arduino Uno
USB Serial Port
It should look something like this ->
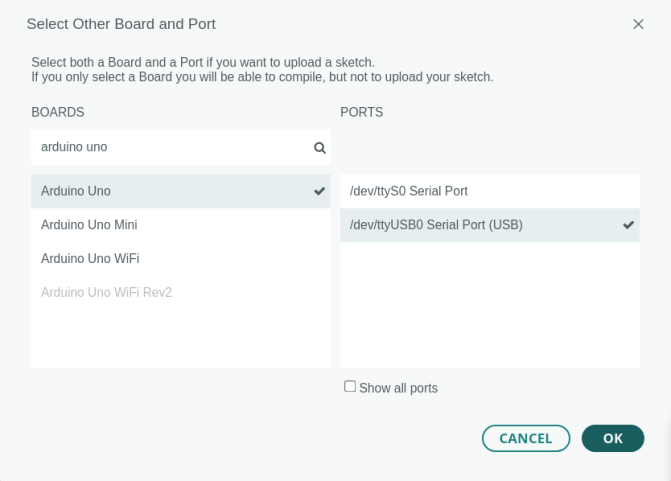
Then we click OK to save it
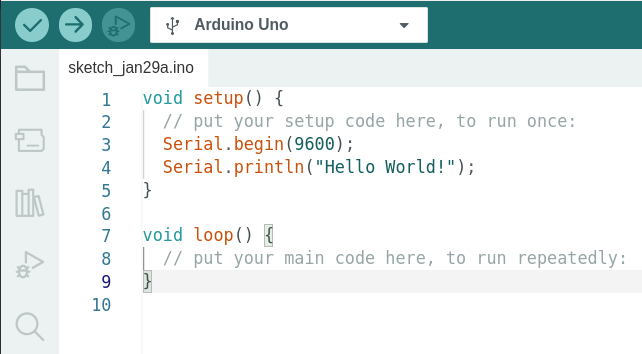
- Next thing is going to be that we wrote our code! I'll leave it a simple example of
Hello Worldin another file in this gist, so copy it from there and paste it there.
Then we have something like this ->
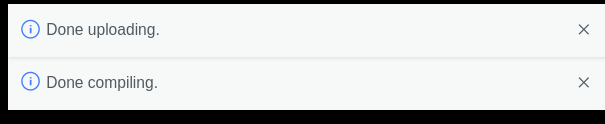
We click the two icons which are to compile and upload and we should get something like this ->
And for the last thing we have to click in the Serial Monitor icon which is in the top right corner (The right one of the two)

Then we got something like this in our console! ->
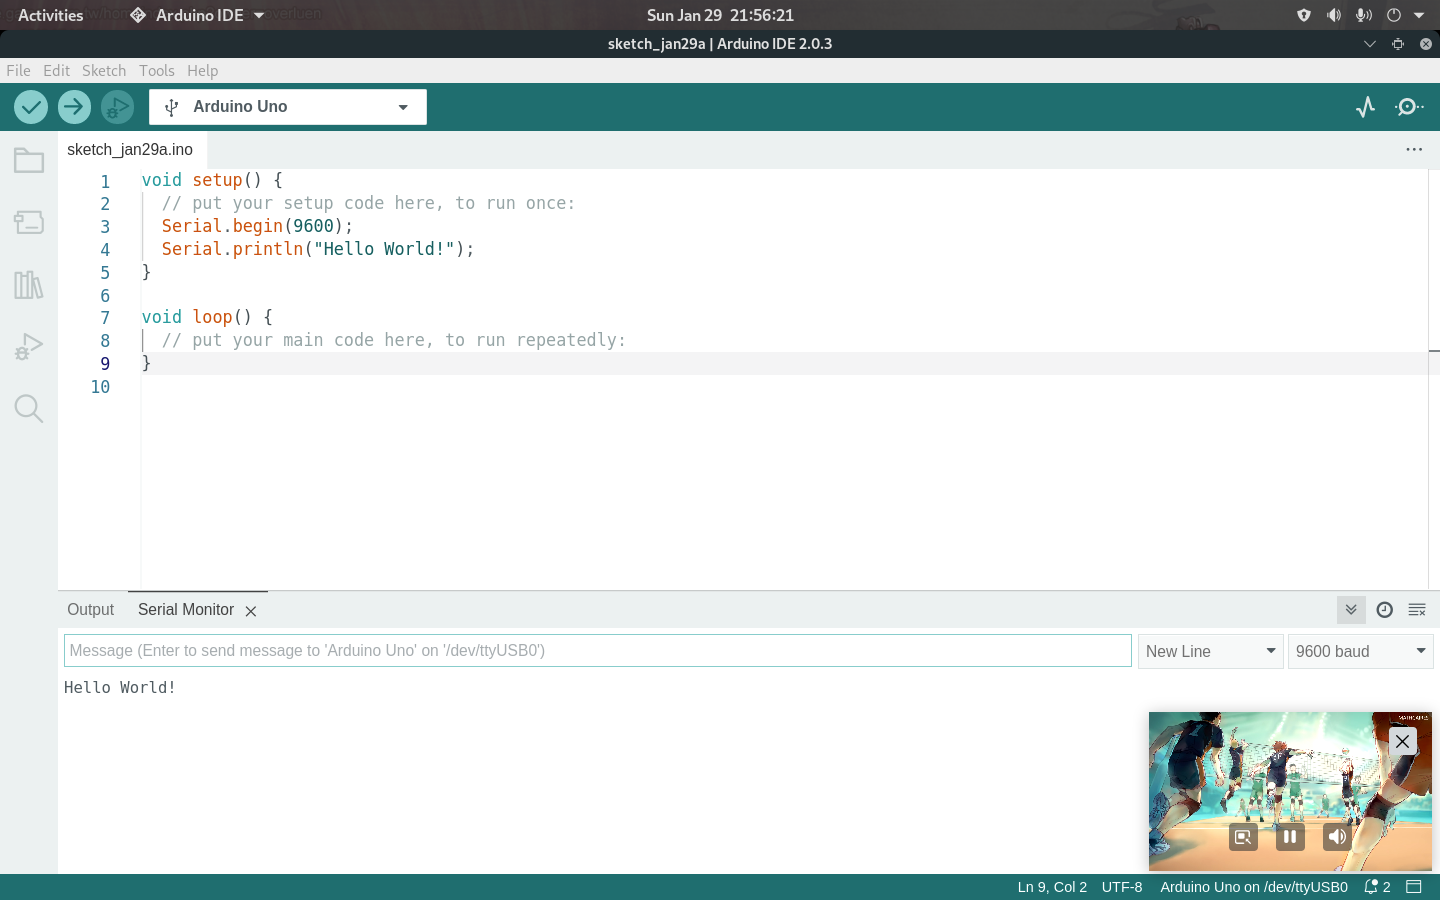
And there it is! Our hello world is there, enjoy our chinese arduino!